
Overview
In this section, I will walk you through the steps required to deploy an application using the Tanzu Application Platform. Before moving further, please ensure below are completed:
- Prepare set up is completed, If not done, then follow the steps in the post
- Default kubeconfig context is set to the target Kubernetes cluster.
- Tanzu Application Platform GUI is successfully installed, for more details, read here
Install Supply Chain with Testing and Scanning
This Cartographer Supply Chain ties a series of Kubernetes resources which, when working together, drives a developer-provided Workload from source code all the way to a Kubernetes configuration ready to be deployed to a cluster, having not only passed that source code through testing and vulnerability scanning, but also the container image produced. It includes below capabilities:
- Watching a Git Repository or local directory for changes
- Running tests from a developer-provided Tekton or Pipeline
- Scanning the source code for known vulnerabilities using Grype
- Building a container image out of the source code with Buildpacks
- Scanning the image for known vulnerabilities
- Applying operator-defined conventions to the container definition
- Deploying the application to the same cluster
You can verify that you have the right set of supply chains installed by running the following command:
Setup Developer Namespaces to use Installed Packages
To create workload for your application using the registry credentials specified, run these commands to add credentials and Role-Based Access Control (RBAC) rules to the namespace that you plan to create the workload in:
- Add placeholder read secrets, a service account, and RBAC rules to the developer namespace by running:
Tekton pipeline
A pipeline to be ran whenever the supply chain hits the stage of testing the source code. Save below into a yaml file for ex: tekton-pipeline.yaml
Run the yaml file with following command in tap-install namespace:
scan policy:
The ScanPolicy defines a set of rules to evaluate for a particular scan to consider the artifacts (image or source code) either compliant or not. When a ImageScan or SourceScan is created to run a scan, those reference a policy whose name must match the one below (scan-policy). Save below code into a yaml file, for ex: scanpolicy.yaml
- Run the yaml file with following command in tap-install namespace:
Image Secret:
Regardless of the supply chain that a Workload goes through, there must be a secret in the developer namespace. This secret contains the credentials to be passed to
ScanTemplate
- Create a file named ootb-supply-chain-basic-values.yaml that specifies the corresponding values to the properties you want to change.
Deploy Application
To deploy your application, you must download an accelerator, upload it on your Git repository of choice, and run a CLI command. Let me take you through the steps of downloading an accelerator through TAP-GUI:
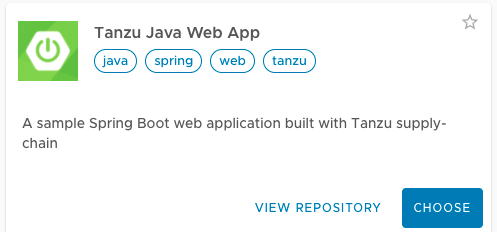
- From the Tanzu Application Platform GUI portal, click on Accelerators on the left side of the navigation bar to see the list of available accelerators.
- Locate the Tanzu Java Web App accelerator, which is a sample Spring Boot web app, and click on Choose button.
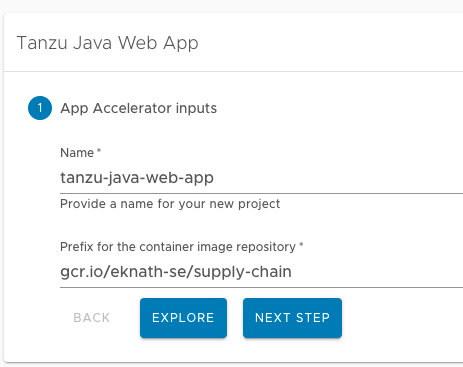
- In the Generate Accelerators prompt, replace the default value
dev.localin the prefix for container image registry field with the registry in the form ofSERVER-NAME/REPO-NAME. TheSERVER-NAME/REPO-NAMEmust match what was specified forregistryas part of the installation values forootb_supply_chain_basic. ClickNEXT STEP, verify the provided information, and clickCREATE.
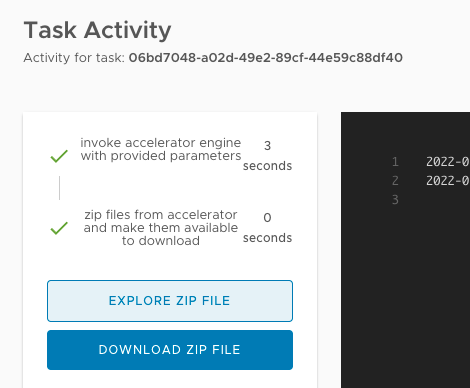
- After the Task Activity processes are complete, click on the
DOWNLOAD ZIP FILEbutton
- After downloading the zip file, expand it in a workspace directory and follow your preferred procedure for uploading the generated project files to a Git repository for your new project.
For this demo, instead of downloading from accelerator, I have a used a public version to test which is available here
- Deploy the Tanzu Java Web App accelerator by running the
tanzu apps workload createcommand:
- Collect the External IP of Envoy service in name space: tanzu-system-ingress
- Add an entry in your local machine /etc/hosts with the IP collected above pointing to hostname: tanzu-java-web-app.tap-install.example.com
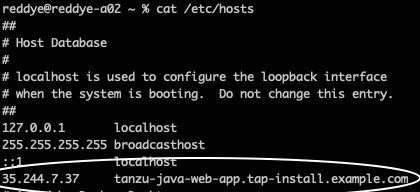
- Access the url tanzu-java-web-app.tap-install.example.com and you should see result as below:
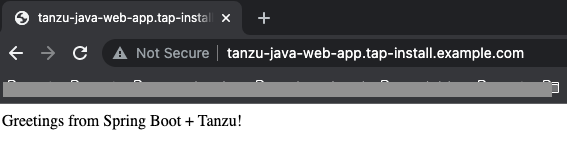
Verify the scan results: